
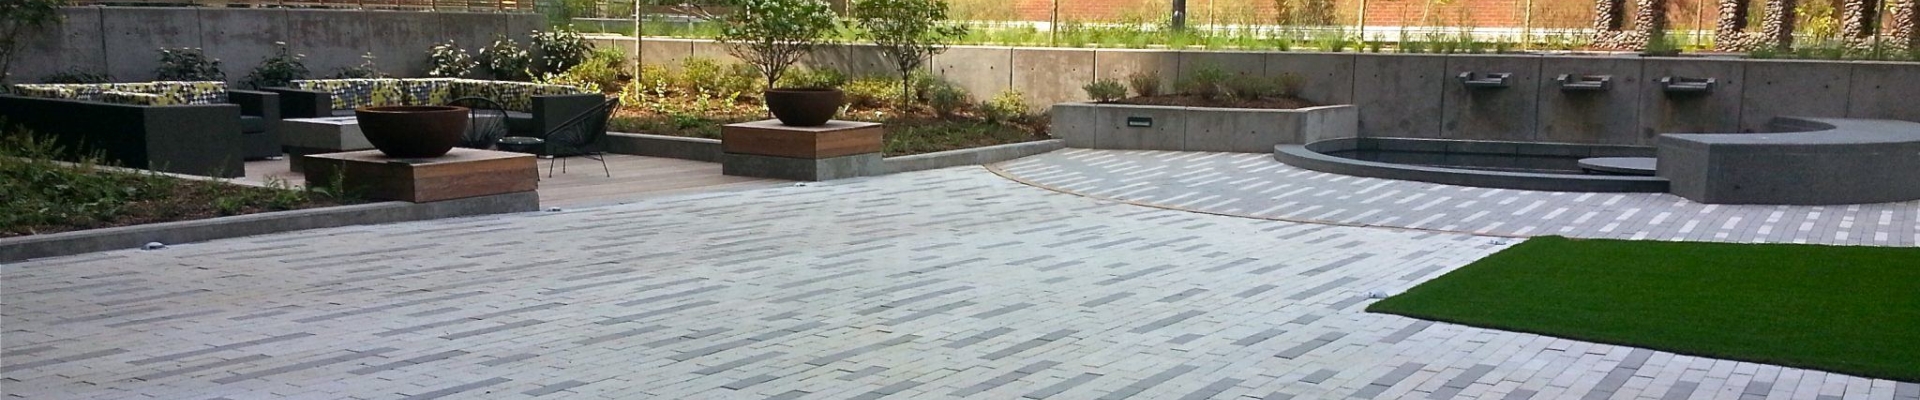
Hardscaped paver and stone paths have seen a resurgence in popularity over the past decade. Both for their durability and their design pops, these creative walkways can give your home a polished and elevated look — or help it stand out from neighboring properties.
What’s more, they’re easy to install and relatively economical. Few projects will lend the kind of simple facelift to the exterior of your property like updating or installing a new walkway.
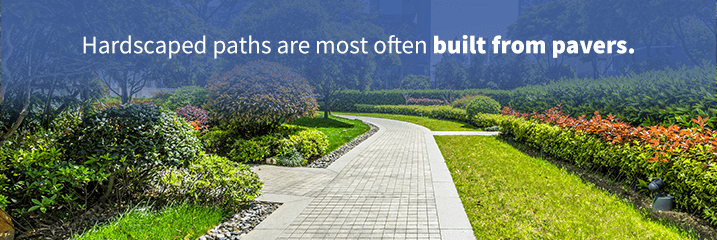
Hardscaped paths are most often built from pavers. We’ve mentioned pavers before because they can be a reliable choice. Knowing the ins-and-outs of pavers and paving stone options will translate into a more successful — and more hardwearing — path or hardscape walkway.
Walkway and Path Materials
How to choose the right paver for your project begins with knowing the top three paver varieties:
- Concrete pavers: These are the most prominent landscaping walkway base. They’re often fashioned into collections, with stone mixes cut into complementary shapes and sizes and laid out in a chosen aesthetic pattern. Contemporary concrete paver installation relies on interlocking placements to make installation a breeze.
- Brick pavers: Like concrete pavers, brick pavers offer cuts and colors that piece together to create a highly attractive finished landscaped path.
- Stone pavers: Natural and manufactured stone pavers often aim to replicate the look and feel of slate or marble. For a higher cost, you can opt for real stone, though many paver manufacturers produce more durable and versatile synthetic cuts which look identical to their natural cousins.
Ground installation of your chosen paver will also require:
- Leveling sand, to pour into the initial shallow-dug trench.
- Base paver panels, to layer between leveling sand and pavers.
- Polymeric sand or mortar filler, if using traditional pavers and not interlocking ones.
Tools for Installing Hardscaped Paver Paths and Walkways
The smoothest and most professional hardscaped pathways require a short list of tools for foundation digging and installation:
- Excavation: Spade shovel, hand or vibrating plate compactor, wheelbarrow, garden rake.
- Construction: Rubber mallet or hand sledger, masonry or metal grinder, trowels, drilling hammer or chiseler.
- General: Hand sanders, concrete sand, mortar filler or polymeric sand.
What to Know Before Installing Hardscaped Paver Paths
The steps to install paver walkways, driveways or paths are intuitive. Yet before you start digging away, leaving your yard full of pathway trenches, have the following squared away:
1) Determine your paver pattern. Paver patterns are where creativity meets curb appeal. Paver pattern determines not only the size and shape of each stone but how they get arranged in your final layout.
- Running bond paver patterns are the most popular styling. Stones or bricks are laid in straight, horizontal or vertical lines, with each row slightly offset or out-of-line with the adjacent ones.
- Jack-on-Jack, or stacked bond, paver patterns are a more exact version of running bond. Bricks and stones are arranged in symmetrical, even lines to create column-like rows.
- Herringbone is another widespread paver pattern, where stones or bricks run in parallel, 45- to 90-degree lines, creating a zig-zag effect.
- Pinwheel paver patterns are fashioned after the windmill-like design of the paper ornament. Stones are laid in geometric or circular groupings that mirror the whimsy of a pinwheel.
2) Prepare for curves and hills. Elevated terrains don’t make paver pathways impossible. But they do mean you’ll need to cut and arrange special pavers on these areas.
3) Pack sand as even and smooth as possible. There are specific tools you can use to accomplish this. Or you can take a wooden board and run it across the length of your poured sand to ensure an even, tight foundational layer.
4) Blueprint your paver placement ahead of time. That way, when it comes time to lay and lock stones, you merely have to follow the slotted design. Never rely on on-the-spot-visuals to assess a symmetrical pattern.
5) Trim away excess paver panel edges before layering pavers. Use a masonry or metal grinder to trim large pavers and a hand stone sander to exact smooth edges. It will improve your final design.
6) Use polymeric jointing sand. It’s formulated to provide the best, moisture-resistant bond between pavers.
Hardscaped Walkway and Paver Path Tips and Tricks
As with any hardscape project, hardscaped paths and walkways have their own insider tricks:
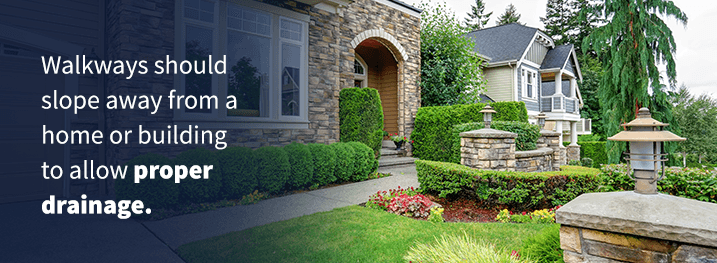
1) Slope away from the house. Walkways should slope away from a home or building to allow proper drainage. If possible, follow the natural slope of a yard, or use the sloping rule-of-thumb to dig trenches ¼-inch deeper for every foot of a hardscaped path laid farther from the house.
2) Work from the outside in. Outline a walkway’s edges with peripheral pavers first, then work in.
3) Leave room between each paver. About a quarter of an inch will do, regardless of paver type. This allows proper drainage and stone or brick setting.
