Outside Retaining Walls: A 9-Step Installation Guide
Landscape upgrades are an important way to add value to your home, improve the health of your landscape and make your outdoor space more livable and enjoyable.
Realtors around the country agree. In a recent study from the National Association of Realtors, in partnership with the National Association of Landscape Professionals, Realtors ranked landscape redesign projects at the top of their list of outdoor projects that would add the highest resale value to a home. As far as value added, on average, landscape redesigns saw a 105 percent value recovery after the homes were sold.
But even if you aren’t looking to sell your home, this study also demonstrates the value of a landscape redesign to homeowners. Among those surveyed, 75 percent said the project increased their desire to be home, 65 percent said the project increased their enjoyment of their home and 79 percent left the project with a major feeling of accomplishment.
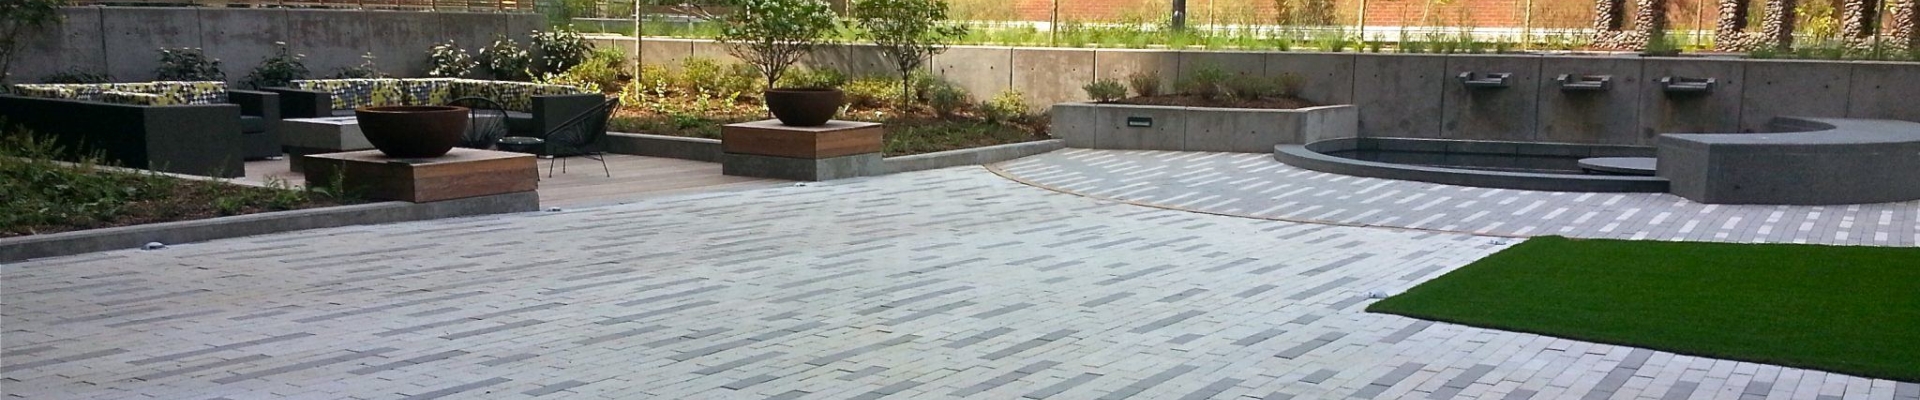
There are many components involved in a potential landscape redesign, but an increasingly popular one is landscape retaining wall installation. Those living on a property with a steep grade may use retaining walls to create terraced beds, making space more livable and making planting easier. Others use retaining walls to raise areas, especially flower beds, to increase drainage for certain plants.
Either way, they are incredibly beautiful and create visual interest in any landscape design and a home improvement project many homeowners find rewarding. There are several reasons a homeowner might decide to hire a certified professional landscaper to build a retaining wall, and that’s also the route we typically recommend. Some concrete product suppliers even require a certified contractor to install their products on your property.
Ultimately the decision is yours. If you do it correctly and don’t try to skip steps or professional insight, you’ll have a beautiful landscape or patio retaining wall to enjoy for years to come!
Step 1: Choose Materials
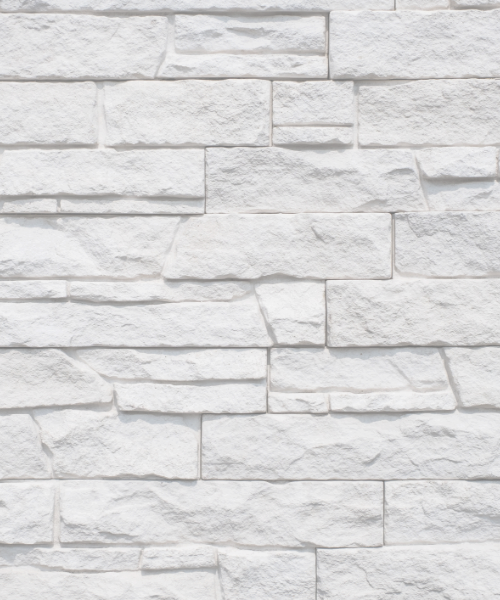
Better construction material design is one of the primary reasons homeowners are building retaining walls. Stackable concrete blocks construct a wall that is strong, yet beautiful. The fronts of these blocks are designed to look like hand-hewn stone or well-aged masonry. But the blocks also include a measured groove on the top and lip on the bottom. Precisely engineered, the lip fits into the groove, which will guide construction while also creating an interlocked joint to increase the strength of your wall.
In addition to the stacking blocks, most retaining wall systems also have topper blocks which create an even finish for the top of your backyard or driveway retaining wall.
There are so many designs to choose from, you won’t have any trouble finding a wall that perfectly matches the overall architecture of your home.
In addition to blocks, you will need:
a shovel
a brick chisel
a rubber mallet
wooden stakes, string and a line level
sharp gravel
a soil tamper
a level
work gloves
a gravel rake
a corrugated drainage pipe and pipe sleeve
concrete adhesive and a caulking gun
Step 2: Mark out the Wall Placement
You now want to mark the area where the wall will be installed. Use your shovel to mark the ground. At the ends of the wall, drive your wooden stakes. Tie your string to each stake at the desired height of your wall. If your wall is longer than eight feet, drive a stake in the middle so no stake is more than eight feet apart. Using a line level, make sure you’ve maintained the desired height throughout.
Step 3: Dig the Trench
Once you have your wall marked out, it’s time to start digging. You want to create a trench that’s around eight inches deep. You also want to make sure the trench is at least slightly wider than the blocks you are installing. Make sure you’re cutting straight down with your shovel, as you want to leave as much of the surrounding soil undisturbed as possible.
Once you have removed the earth, you need to tamp down the remaining soil.
When finished tamping the soil, add four inches of gravel, raking it smooth. Use your level to make sure your gravel is level, and remove gravel as needed.
It is extremely important that your first row of blocks is partially underground. That’s why you’re digging an eight-inch trench and only replacing four inches with gravel. By having the first row underground, the wall will be anchored and much stronger.
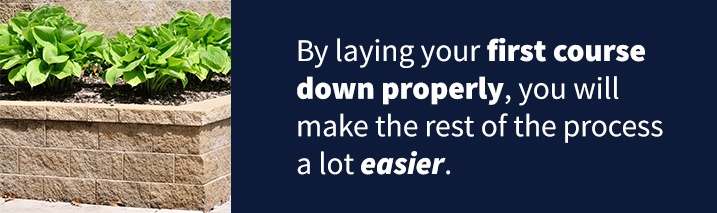
Step 4: Lay Down Your First Course
Now it’s time to lay the first course. There are a few factors that will determine which side of the wall to start with. If your wall meets another architectural feature, you will want to start with the end that butts up against it. If your wall goes against a slope in topography, start with the lowest end. If neither of these criteria applies, just start with the most visible end of your wall.
As you lay each stone, it is crucial to check each one with your level. Make sure each stone is level from front to back and from side to side. If a stone is too low, you may need to add more gravel. If it is slightly uneven, you can use your rubber mallet to hammer the stone into the proper place.
By laying your first course down properly, you will make the rest of the process a lot easier.
Depending on your block design, there may be hollow cores in the blocks. If so, fill those cores with additional gravel to increase strength and stability.
Step 5: Install the Drainage Pipe
Once you have your first course set, you can lay out your drainage pipe. Make sure it’s covered with a sleeve to prevent future clogging. Place the pipe exit where you want the water to go.
Step 6: Add Layers
Now you’ve arrived at the fun part. Make sure your base layer is smooth, sweeping away any debris that has collected. Stack the next course on top of the first. If you’re staggering the joints, start with a block that’s been cut in half so the end remains smooth. Be careful to line up the lips and grooves so your wall retains its interlocking strength.
If you have set the first course properly, this part should go quickly. However, you do want to continue checking your blocks to make sure they are level. Additionally, you want to make sure they’re sitting snugly and not wobbling.
Step 7: Lay the Topper Blocks
Once you’ve neared the desired height, it’s time to add the topper blocks. Take care that the final layer of standard blocks is clear of debris and as much dust as possible.
Using a caulking gun, lay down a bead of concrete adhesive on the top course of standard blocks. Take the topper blocks and place them on the adhesive, making sure to press down firmly while checking that they are level.
You need to give the adhesive time to set, so make sure to check the manufacturer’s instructions. If the toppers are slightly uneven, use your rubber mallet to make small adjustments.
Step 8: Backfill
Once the toppers have fully set — most people choose to let them set overnight — it’s time to add backfill and finish your project. You should have covered your drainage pipe with gravel already, but in case you haven’t, do this step before adding backfill.
Depending on the amount of backfill you’re adding, some homeowners cover their retaining wall with landscape fabric. If you’re only adding a small amount of backfill, you may not need to do this.
Place a layer of gravel between the wall and the backfill. This will increase the strength of the wall while facilitating proper drainage.
After placing the gravel, you can fill with backfill as needed. However, remember you don’t want the backfill to reach the top of your wall. Leave space for a layer of topsoil that will cover both the gravel and the backfill.
As you fill, use your soil tamper to make sure the backfill isn’t too loose. Loose backfill will be susceptible to erosion, and may eventually cause your wall to fail.
Step 9: Add Topsoil
Once you have added the backfill, add a layer of topsoil. Choose a topsoil that is suited for the type of landscaping you intend to do.
And with that, you are ready to landscape! If you’re adding plants, plant them! If you’re adding a layer of sod, spread it out! Building a retaining wall is a physically demanding job, but it is rewarding. And if you do it right, you will be reaping those rewards for years to come!
The Importance of Proper Retaining Wall Installation
Retaining walls are not merely decorative. They are required to withstand an incredible amount of force from the earth they’re holding back. This force is known as lateral earth pressure. And that pressure is not static throughout the year. If the earth behind the wall becomes saturated with rainwater, the increase in hydrostatic pressure puts even more strain on your retaining wall.
Unfortunately, many improperly built retaining walls fail during a period of increased rain. Depending on their placement in your landscape, a failing retaining wall could either be a frustrating inconvenience requiring expensive repairs, or an even more worrisome event that threatens the stability of your home.
So, while an eager do-it-yourselfer can certainly construct a retaining wall, the project requires precision and strict adherence to manufacturers’ recommendations for the products being used.
Furthermore, it is important to check local building codes. While homeowners can usually complete small retaining walls without any problem, some areas have codes regulating the installation of larger walls. A good rule of thumb is to clear anything above three to four feet with local building codes – anything above 4’ consult an engineer for proper retaining wall design. And these walls require additional structural reinforcement regardless. In addition, dial 811 to determine if there are any utility lines beneath your proposed wall. Even though you will not be digging down deep in the ground, the change in pressure created by a retaining wall could damage utility lines.
Trusting a Manufacturing Expert
Of course, your retaining wall will only be as good as the materials you use. That’s why you need to partner with a masonry manufacturer that knows how to make beautiful, yet strong and durable retaining wall blocks.
Here at Nitterhouse Masonry Products, we have a wide range of retaining wall blocks perfectly suited for any landscape or hardscape design, as well as an equally wide range of budgets.
Our most popular retaining wall block is the Allan Block Collection. These are simple, yet stunning designs that are perfect for a number of different projects, large and small.
The Fieldstone Collection is one of our most popular “green” options, while our Ecology Blocks are designed for those looking to be environmentally friendly on a budget.
Finally, if you have a bolder design in mind, check out our Aztec Collection, which is inspired by the incredible masonry achievements of ancient American cultures.
There are so many beautiful ways to complete a landscape or backyard retaining wall design. But the project requires durability and precision, as well. You want your retaining wall to last, so you need to build it properly and do so with materials that are specifically and expertly designed for the job.
That’s why we care so much about our concrete products. We manufacture products our customers expect to last, retaining both strength and beauty for decades to come. We stand behind the blocks we offer.
We are still serving the Mid-Atlantic region five generations later. We are honored to continue the Nitterhouse legacy here in Chambersburg, Pa., nearly a century later.
Contact us
FOR MORE INFORMATION ON HOW WE CAN SUPPORT YOU IN YOUR LANDSCAPE RETAINING WALL PROJECT OR FIND YOUR LOCAL DEALER.