Jump-To:
Masonry is sensitive to cracks due to temperature changes, moisture buildup and seismic activity. While installing expansion joints will accommodate the natural movement of the structure, proper construction and regular inspection will prevent damage to masonry walls and foundations. Use this masonry crack prevention guide to take care of your building project.
What Are Expansion Joints in Masonry?
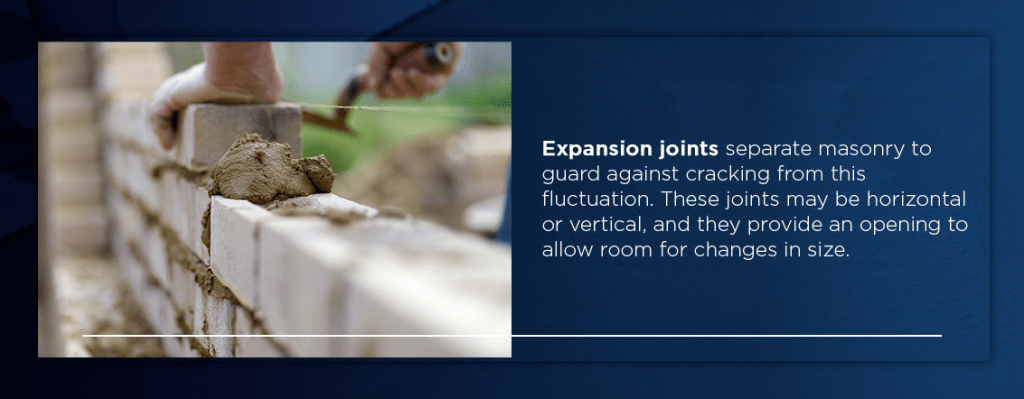
An expansion joint is a mid-structure separation that builders install to relieve stress on the masonry materials. Bricks, stones or other masonry materials may fluctuate in size and movement due to temperature changes, excessive moisture, harsh weather and static or live load deflection. Expansion joints separate masonry to guard against cracking from this fluctuation. These joints may be horizontal or vertical, and they provide an opening to allow room for changes in size.
Besides expansion joints, the other types of movement structures used in construction include:
- Control joint: This system creates a vertical gap through the masonry blocks that’s filled with a durable substance to prevent cracks from dry shrinkage.
- Building expansion joint: This set-up divides a building into sections so the burdens experienced in one area will not affect the overall structural integrity. Typically installed through the building, it is usually more extensive than an expansion or control joint.
- Construction joint: To bring together interrupted sections of a building project, use a construction joint. You should set up these structures where they will least affect the structural integrity of the construction.
1. Vertical Joints in Masonry
You can create a vertical expansion joint using a molded foam pad, a backer rod or a neoprene pad. To improve resistance to water and air infiltration, you could also create a two-stage system with a pressure-equalized or vent structure. A high-quality vertical expansion joint must have some room between the sealants, along with proper ventilation toward the outside wall, to drain moisture.
The spacing and placement of the vertical expansion joints depend on the material and the expectation you have for the structure to move. Since the installation of these joints is a technical issue that affects the integrity of your project, the engineer should determine how to set them up.
Generally, here are some of the locations where they might recommend placing expansion joints:
- Corners: Intersecting walls will expand and cause distress on one or both sides. To reduce this burden, install expansion joints near the intersections. While it may not be visually appealing, the ideal place to set up these joints is on either side of the corner. You could also create concealed expansion joints in the inside edges.
- Offsets and setbacks: Walls opposite each other will expand toward an offset, which can either crack the masonry or rotate the shorter leg. Set up expansion joints at the offset to give the walls room to fluctuate in size without knocking into each other.
- Openings: Window and door openings are vulnerable to cracks when the space between two expansion joints is too spacious. More movement takes place in structures with these openings, which can result in breaks from the parts of the building that don’t move as frequently.
- Junctions: Install expansion joints at the intersections of walls with varying exposures to the elements or conditions for support. Masonry exposed to the outdoors will move differently from masonry that is inside and protected from the elements. An expansion joint should separate the inside from the outside if an exterior wall extends into a building’s interior. You should also install expansion joints to split adjacent walls or different heights to guard against cracking.
- Parapets: Protective walls exposed in the back may have a much different movement tendency from the walls below them. These walls also lack the weight of masonry to resist movement. Put vertical expansion joints within parapets, since these walls are vulnerable to more activity than the structure underneath.
2. Horizontal Joints in Masonry
You will need to install horizontal expansion joints if a shelf angle supports the weight of the brick. As an alternative to vertical expansion joints, you must place horizontal expansion joints underneath the shelf angle. Before installation, remember to remove the temporary shims used to put the edge in position during construction. The joint will resemble the mortar, so finish it properly to allow greater structural quality and to reduce cracks from weak bricks.
The natural movements of the masonry and frame will determine the required size of the expansion. Consider the surrounding climate and the irrigation systems in place to find out how much space you should include in between the joints. The frame will move as a result of the deflections of the shelf angle, rotating the horizontal leg, and accommodating temperature change and shrinkage.
If the building you’re working on doesn’t support construction on shelf angles, an anchor or tie system, then window details and other pathways in the masonry can support the differential movement. These alternatives to shelf angles must allow independent vertical movement between the blocks and the backing, which gives the brick veneer lateral support.
Causes of Cracks in Masonry

Cracking can occur in any masonry material when the panels can’t move. Besides dry shrinkage, changes in temperature and carbonation, some of the other factors that can also cause damage include:
- The type of material.
- The installation of the structure.
- Excess moisture buildup.
- Weather and climate conditions.
1. Type of Material
Masonry consists of any products made of stone, clay or calcium silicate. The cause of cracking and the movement characteristics of masonry depends on the specific building material:
- Brick: Clay materials expand irreversibly after their production as they absorb water vapor from the air. They also can crack the foundation of the building due to their weight.
- Stucco: While this material is relatively durable, it tends to accumulate water on downward slopes on the surface.
- Stone veneer: This masonry material is nearly maintenance-free, yet improper installation could deteriorate the mortar and adhesives within the wall.
2. The Parts of Your Masonry Construction
Depending on the type of building project, the multiple parts of your development may experience cracks over the years. Inspect the slab and the exterior walls to make sure that you don’t see cracks or other signs of damage. Your construction project should have a level foundation and should follow the maximum height requirements, so you don’t place too much pressure on the structure.
Here are some of the standard places where you might find cracks:
- Brick mortar joints: You may discover horizontal or vertical cracks in the brick mortar joints due to sulfate weakening the mortar. These fractures may appear a few years after construction, but you can prevent them by finding out the sulfate content of the masonry materials before you begin building.
- Load-bearing walls: Cracks appear below the load-bearing walls because temperature changes cause them to expand or contract. A bearing plaster over the brick wall provides a smooth contact between these walls and the floor.
- Between the joints: Cracks may form between the leading and cross wall due to improper bonding. To adequately create a connection between the walls, leave alternating openings in one partition to construct the other efficiently.
- Between RCC and masonry: Temperature variation causes differential movement in reinforced concrete columns (RCC) and masonry, thus causing fractures. You can repair these chips by making a groove in the masonry junction and reinforced column, then applying a sealing compound in the gap.
- Roof slab: High temperatures and UV exposure could crack the foundation of the roof. You could weatherproof the surface over the terrace to prevent damage from extreme heat.
3. Moisture
The presence or absence of moisture in masonry will affect its movement and integrity. Once a porous masonry product sets, it expands as moisture content increases, resulting in the expansion of salts, and shrinks as it dries, resulting in drying shrinkage. Excessive moisture could also cause corrosion in an iron or steel reinforcement in the walls.
Condensation is a threat to walls and foundations. To maintain the structural integrity of your construction process, you need to practice healthy moisture control habits for masonry. Moisture management consists of various building practices to prevent moisture, including planning proper drainage surrounding the structure.
4. Weather and Climate Conditions
The movement of masonry depends on temperature change. Between fluctuations in temperature and variations of moisture in the air, the blocks of construction will expand or contract over time. Harsh weather conditions and seismic activity could also affect the movement of your masonry structure.
In the winter, your masonry work is vulnerable to the freeze-thaw process. When water seeps into cracks in the blocks, it freezes overnight and expands. This expansion puts stress on the bricks and causes breaks, increasing the size of any existing fracture. You can guard against freeze-thaw by using deicing chemicals and applying a sealant.
Masonry Crack Prevention
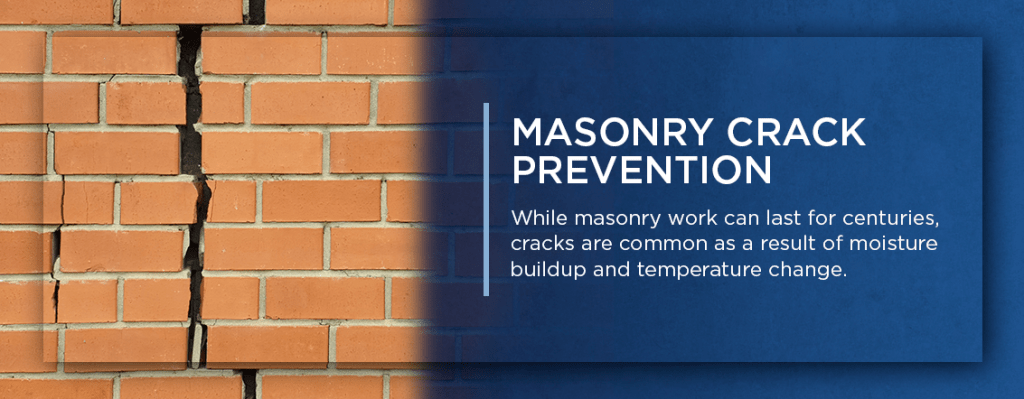
While masonry work can last for centuries, cracks are common as a result of moisture buildup and temperature change. You should take these precautions to avoid the deterioration of your structure.
1. Construct Your Masonry Efficiently
Improper masonry installation may result in fractures or more severe foundation issues over several years. Start your new construction project the right way to prevent damage in the future. Keep these tips in mind as you install your mason structure:
- Create a level, plumbed foundation on a clean surface.
- Construct the masonry work at a uniform height throughout all parts of the building to avoid damage to the walls and other structural elements.
- Be aware of the maximum height to construct the structure so that the walls are stable. Over a certain height, you will need to design a structural barrier to support the other walls.
- The masonry and mortar should properly cure for at least one week.
- Pace yourself and only build a few feet of the structure each day.
- Embed your blocks or bricks with mortar that is relatively weaker than the kind used to make the masonry material.
- Establish an irrigation system to direct water away from the structure.
2. Inspect the Walls and Foundation
After a severe weather storm or a seismic event, inspect the foundation and the exterior walls. Figure out which walls are load-bearing by looking at the beams and joists in the crawl space, attic or basement. Keep in mind the material you’re working with, whether solid masonry, non-structural brick or stone veneer, to know which signs of deterioration are common.
As you examine the interior and exterior walls, along with the foundation, you should note any of the following signs:
- Cracks: You may see either step cracks or vertical corner cracks within the mortar surrounding your masonry material. Step cracks occur due to the settling of walls, while vertical corner cracks arise when drought-like conditions shrink the soil around and underneath the foundation.
- Bulging or leaning walls: Corrosion from heavy rains draining down the sides of the wall could cause it to bulge. Bowing refers to vertical bulging, while sweeping is a term used for the horizontal bulging. Walls may also lean a couple of millimeters, but if the leaning becomes excessive, it could be unsafe.
- Compacted bricks: Bricks may condense and cave in on top of each other due to sinking or settling foundations.
- Efflorescence: If you notice stains of white salt deposit, the bricks may have been exposed to an excess amount of moisture. The salt is residue from the water surrounding or infiltrating your building material.
- Mortar deterioration: Efflorescence could be the warning of a more severe issue — the breakdown of the mortar surrounding your building material. To avoid more damage to the building, you should set up a system that directs the flow of water away from it.
- Steel lintel deflection: Lintels are beams used to construct walls made from masonry, but they could change direction and develop fractures in the bricks or stones because of corrosion.
- Spalling: Chipping or flaking in the walls is a result of improper loss or venting controls, or freeze-thaw weather cycles. While spalling is considered minor damage, you should fix it before it develops into a more severe issue.
3. Accommodate Movement Through Joints
If you use various materials, their dissimilar natural movement could cause stress throughout the structure. Instead, you should separate the different elements by horizontal or vertical expansion joints or slip panes. Build movement joints into the building to accommodate the expansion and contraction of your masonry units.
You should design the slip panes to allow parts of the construction to slide to reduce stresses in the bordering materials. Carefully consider both the position and layout of the joints and slip systems so that these parts can accommodate movements and increase the wall’s stability. In external walls, seal slip planes and joints to prevent water penetration.
Contact Nitterhouse for Masonry Products
Nitterhouse Masonry specializes in veneer stone, Nicrete brick and other masonry products for both residential and commercial construction. If you’re looking for masonry materials for your next project, find a dealer near you that can provide you with the right equipment. For more information, you can contact us online or call us at 717-267-4500.