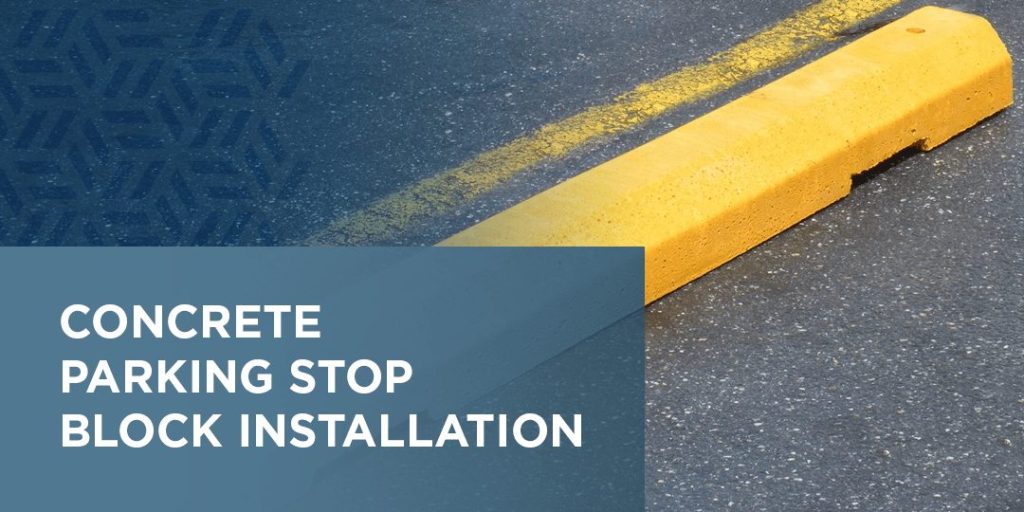
Whether you are designing a new parking lot or looking for ways to upgrade your current lot, installing concrete parking stoppers is a great way to stop rolling cars from damaging your property and other parked cars. The installation process for parking stop blocks is something you can handle with proper guidance.
Learn how to plan for parking stoppers, ensure you are following local regulations and properly install your concrete stop blocks.
How to Install Concrete Parking Stop Blocks
With the right tools and knowledge, you can complete a parking stop block installation yourself. Once your premade concrete stop blocks from Nitterhouse Masonry Products are delivered, you can follow the below steps for a safe and successful installation:
1. Select the Location for the Parking Lot
To prepare, you will want to select an adequate location for your parking lot. Be sure to consider convenience, safety, the surrounding landscape and more. Additionally, check with your local municipality for zoning codes and restrictions to ensure you are being compliant when creating the parking lot.
Be sure to consider how many spots you need in your lot and whether the location you are choosing will have enough room for the size of your lot. If you are paving a new lot, you will need to consider what landscaping you will need to clear for new pavement.
2. Map Out Parking Spots
Once you have your location chosen, you will want to map out the individual parking spots. Creating a map of your spots will allow you to plan for accurate measurements and spacing so you have a more accurate idea of how many spaces you will have, how many parking blocks you will need and what size the parking blocks should be.
This is also your chance to determine an efficient flow for your parking lot and how you can optimize space. Indicate where accessible spots will be and whether they will be larger than your standard spots. Be specific with measurements so you know the exact space you have.

3. Gather Materials
Installing parking stop blocks requires a few specific tools and materials to ensure you are able to effectively install the blocks. Before beginning the installation, gather the following materials:
- Forklift of a couple of sets of helping hands
- High-speed hammer drill
- Masonry drill bit
- Sledgehammer
- Measuring tape
- Concrete parking stop blocks
- Rebar
- Safety glasses and gloves
4. Transport Concrete Parking Block
Because parking blocks are heavy, transporting them alone will require power machinery like a forklift, which allows you to easily lift, transport and position the parking blocks in your mapped-out parking spaces. Another option for moving the parking blocks is a tractor with a fork attachment.
If you are without a forklift or tractor, you can still transport the concrete blocks with the help of a few other people. With multiple people lifting the stop blocks, you will be able to move them into place.
5. Measure and Set Concrete Parking Blocks in Place
Measurements are crucial when setting the stop blocks in place, especially considering municipality regulations. The blocks’ placement must not create hazards for people or damage vehicles, so you should ensure they are level and spaced out. To ensure blocks are evenly spaced, use chalk, a measuring tape, stakes and rope to line up the blocks in a straight, evenly spaced line.
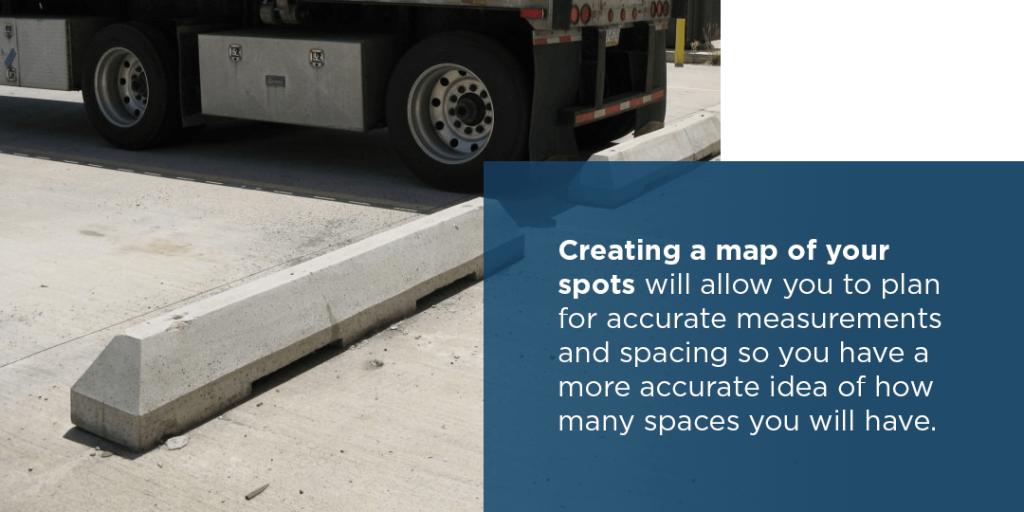
Nitterhouse Masonry Products offers standard parking blocks that are sized for standard cars and vehicles. Additionally, we sell truck parking blocks, which are taller and wider for semi-trucks and tractor-trailer trucks.
6. Drill and Hammer the Rebar Into the Parking Blocks
Once your stop blocks are in position, it is time to drill holes and secure the blocks with rebar. Nitterhouse Masonry Products concrete parking blocks have pre-drilled holes, so you know exactly where to drill the holes in your pavement.
First, drill through the holes in the stop block, keeping the drill bit vertical to prevent the surface from chipping. Once your holes are drilled, use the sledgehammer to drive the rebar down through the block and into the ground.
Be sure to hammer the rebar down far enough so it’s even with the top of the block. Doing so prevents the rebar from potentially damaging vehicles or injuring people. Once the rebar is level with the stop block, the installation is complete and the block is securely in place.
Our Selection of Parking Stop Blocks
At Nitterhouse Masonry Products, we offer a selection of parking stop blocks to meet a variety of parking lot needs. Our standard concrete curb stops are available in three sizes — six-, seven- and eight-foot lengths — and can either be yellow or gray.
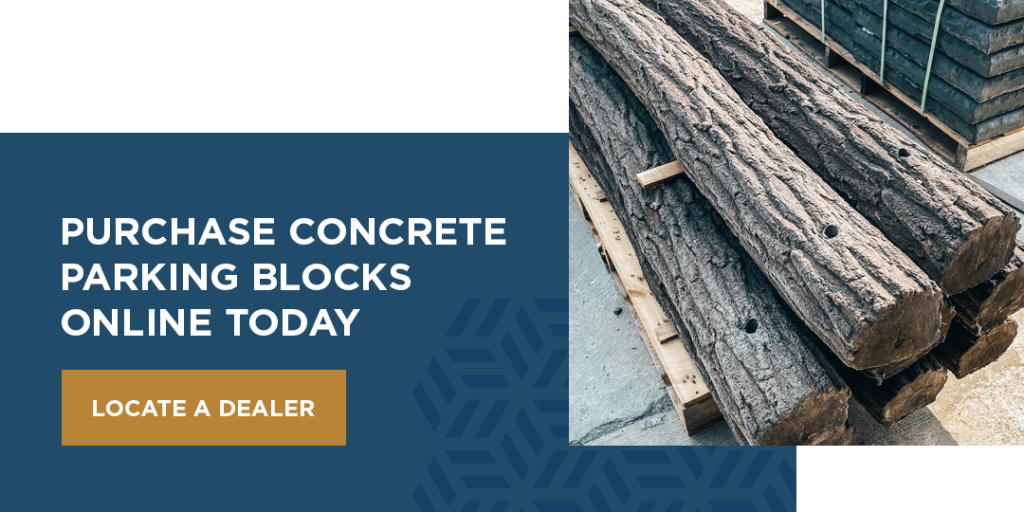
We also offer log-shaped concrete curb stops, which are molded to look like natural wood. This option is ideal when you want your parking blocks to blend into the parking lot’s surrounding environment, like at a park or nature center.
Our third option is concrete truck stop blocks. These blocks are eight feet long and 12-inches high to work effectively for bigger trucks and vehicles. Our truck stops are backed by 90 years of expertise and experience to offer optimal performance.
All of our parking stop blocks are designed to be reinforced with rebar. Our concrete can withstand 5,500 pounds-per-square-inch of pressure, so you can be confident in the durability and quality of your curb stops.

Purchase Concrete Parking Blocks Online Today
If you are looking for reliable concrete parking blocks to install in your parking lot, look no further than Nitterhouse Masonry Products. View our selection of concrete parking blocks online or from one of our dealers across the Eastern United States.
When you order our precast concrete parking blocks, you receive long-term stability and the ability to withstand the elements. Plus, our concrete stoppers are designed to prevent damage to tires and cars should they run into the blocks. With our concrete parking stoppers, you can direct traffic flow and protect cars, pedestrians, signs, poles, your building and any other structures in the vicinity.
Find a dealer near you, order products online or contact us for more information.


