
As low maintenance as they are visually appealing, edging stones are a straightforward hardscaping design you’ve likely seen everywhere — and might have never noticed.
Edging stones take the cake regarding under-the-radar backyard landscaping ideas. They add refinement and a tailored, finishing stamp to any garden, walkway, path, driveway or space they border. We guarantee even the greenest, inexperienced do-it-yourselfer can upgrade their home’s landscaping by adding edging stones.
What Are Edging Stones?
If you’re looking for an accessible, one-day hardscape project to instantly upscale the features of your current yard, look no further than edging stones.
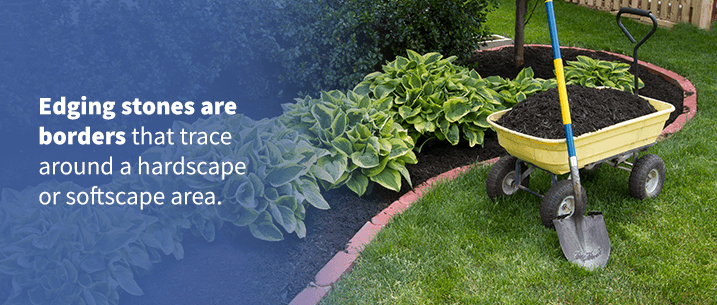
Simply put, edging stones are borders that trace around a hardscape or softscape area. They’re typically made of bricks or stones laid perpendicularly to a landscaped area, nestling rocks or grass and keeping those terrains in their place.
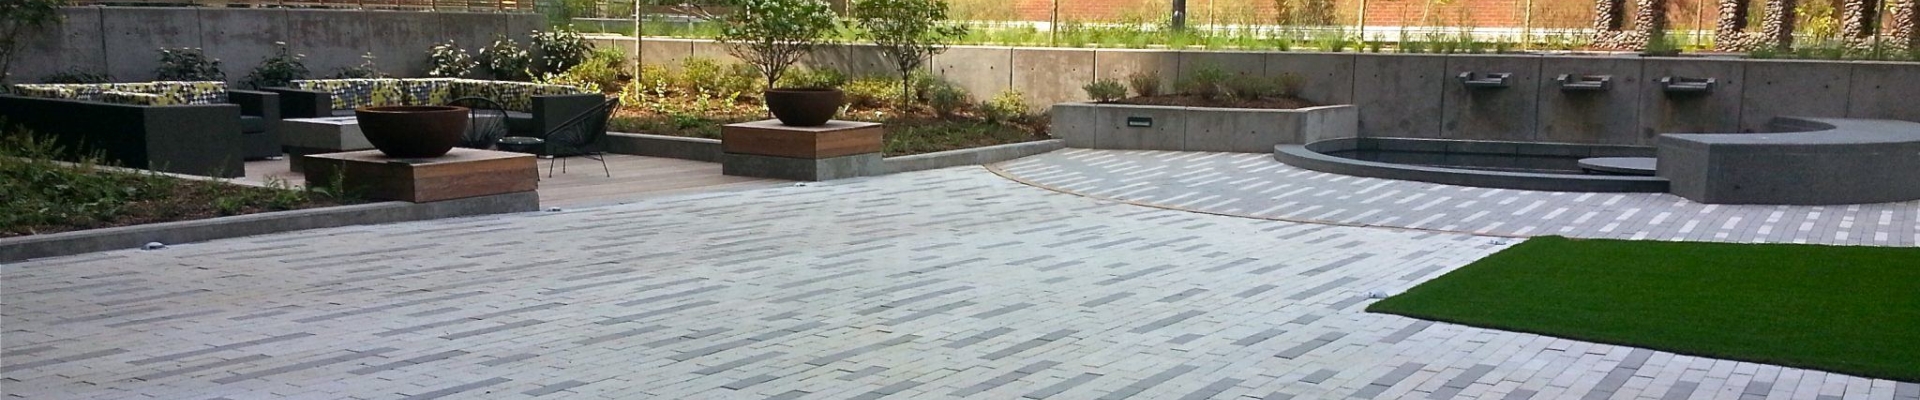
You’re most likely to find hardscaped edging stones tracing a walkway or around trees and larger plantings, though more creative uses can be easily imagined by taking a walk around your yard.
Edging Stones Materials
Since edging stones are laid in the same manner regardless of chosen material, you should make your selection based on what best fits your home’s personality and ideal project vision.
Edging stones can be fashioned from natural or manufactured materials. They can be made to look like bricks, masonry stones, interlocking stones or blocks. Likewise, their coloration and textures will be based on these material foundations.
The most common natural edging stones include limestone and sandstone. You can also easily find neat and easy to install interlocking edging stones with straight or curved cuts.
Tools for Installing Edging Stones
You probably already own most of the tools to set solid yet striking edging stones, tucked away in your garage or shed:
- Spade shovel or motorized edging tool, for initial digging.
- Gardening trowels, for more detailed and exact digging.
- Backfill material, such as mulch, soil or decorative rocks.
- Gravel or crushed rocks. You’ll use this as a buffer layer, sprinkling gravel along the base of your dug trench and right underneath any stones.
What to Know Before Installing Edging Stones
While this hardscape design doesn’t require the most intense labor, advanced toolkit or even time, there is still merit in planning out the pattern your edging stones:
1) Order stones ahead. Plan your edging-stone material order carefully, detailing exact size, color and cut. Ask for samples if you’re stuck between types, or inquire about durability and weather resistance.
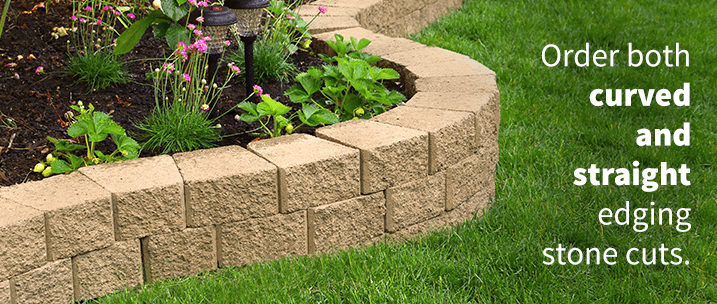
2) Work with your natural landscape. Order both curved and straight cuts to match the natural lines and terrain type of the surroundings. Make sure your stones have a little texture, too — especially if they’re lining smooth surfaces such as driveways or walking paths.
3) Gravel or compact rock base. To prevent stones or bricks from sinking over time, as well as to allow proper ground drainage beneath your stone edges, sprinkle a layer of gravel or crushed rocks immediately after digging your trench.
4) Half-and-half digging rule. You’ll want trenches deep enough to engulf the bottom half of your edging stones but not so deep they swallow them whole. This balance ensures robust and permanent stone lines.
5) Take your time. When working with blocks, stones and bricks, align and place carefully. Even though these materials are easily moveable, once you’ve dug your base trench, you want to ensure your fit pieces together like a puzzle.
Edging Stones Tips and Tricks
There’s no need to complicate something as fundamental or fuss-free as edging stone installation. Laying out your hardscaped edging stones will be even more comfortable with these insider tricks in mind:
1) Compact your base gravel tight — but not too tight. You need a light gravel layer to create a drainage flow solution and keep your stones from getting sunken and waterlogged. Yet you don’t want to add so much gravel in there you disrupt the natural composition of the soil.
2) Backfill as you work. It won’t take much, but adding extra dirt, soil or mulch as you edge will maintain the overall look.
3) Plan for ideal height. Since a good portion of edging will be hidden as its laid into its trench, plan material sizing and visuals accordingly. You don’t want too much of your beautiful bricks or stones swallowed up, negating the whole feature.
