


BENEFITS OF USING CONCRETE PAVERS AND PAVING STONES
Concrete pavers and paving stones have many benefits for hardscape projects of any size. Here are some advantages concrete pavers offer for homeowners, architects and city planners.
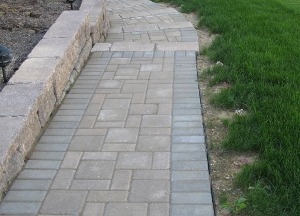
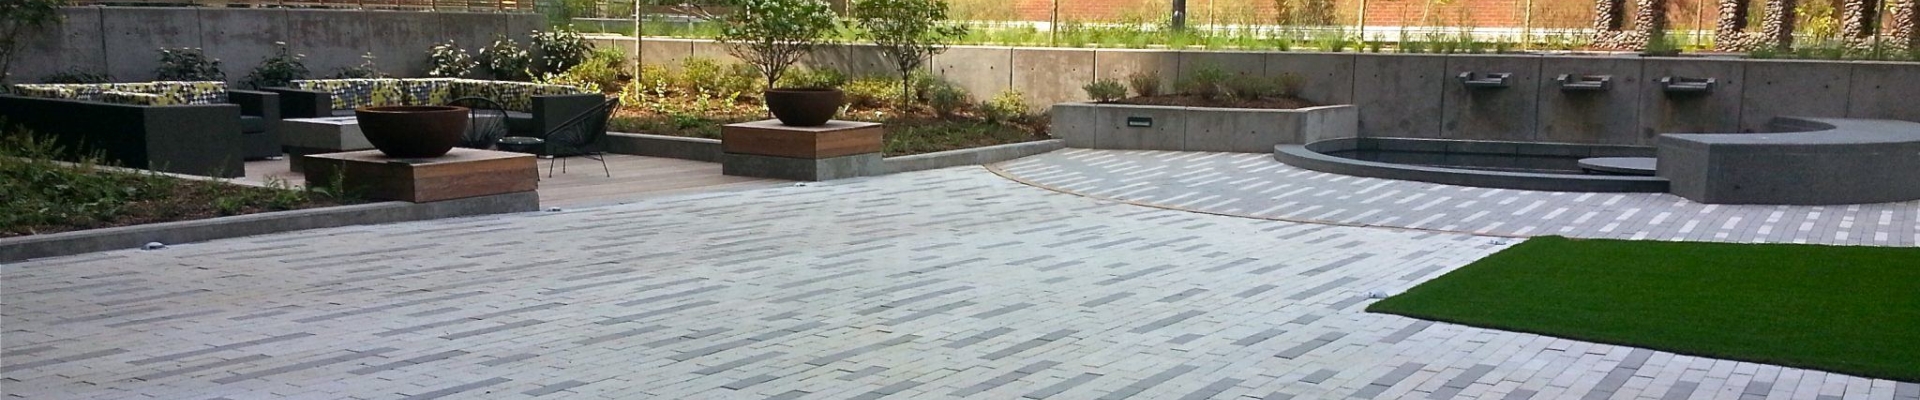
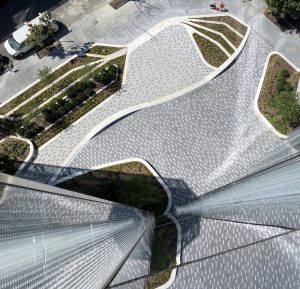
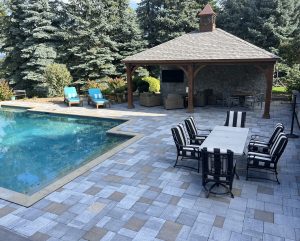
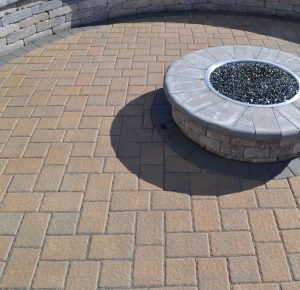
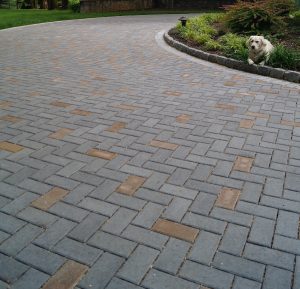
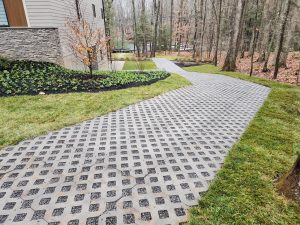
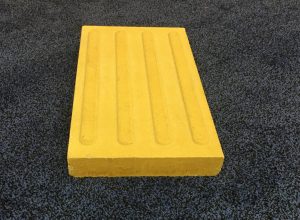
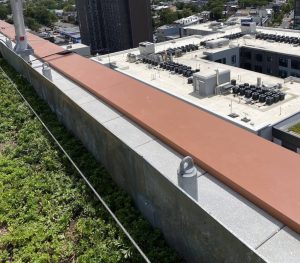
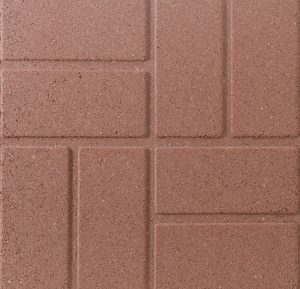
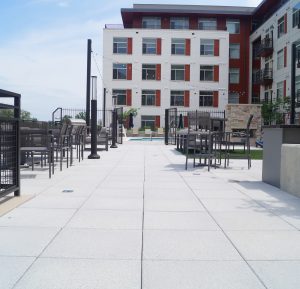
- Many design options: Concrete pavers are available in many colors, sizes and textures that allow you to make your design dreams a reality. Use square and rectangular pavers to create symmetrical designs or incorporate a variety of colors for a creative pattern.
- Easy installation: With a few simple tools, you can install concrete pavers for your patio or walkway easily without any heavy machinery or professional training. If you prefer to hire a professional, your installation will still be faster and more affordable than laying poured cement.
- Affordability: Generally speaking, pavers are less expensive than poured cement and asphalt in both raw material and installation costs. Concrete pavers also offer the long-term benefit of 20 to 30 years of durability.
- Durability in cold climates: Freeze-thaw cycles can cause traditional concrete and asphalt to crack or create potholes. Concrete pavers, on the other hand, are made of more compressed concrete that is resistant to cracking, splitting or crumbling. Durable concrete pavers also offer traction in slippery snowy or icy conditions.
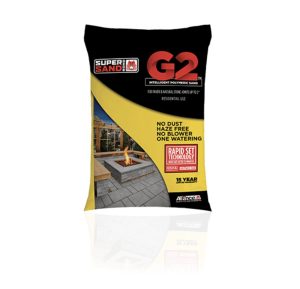
- Low maintenance: Concrete pavers require very minimal maintenance. To keep your concrete pavers looking beautiful and clean, sweep and weed them as necessary. You can also rinse concrete pavers with a garden hose or scrub them with a concrete cleaner should any stains occur. If sand between the pavers rinses away, refill the spaces with new sand.
- Easy repairs: Over time or after severe weather events, pavers may shift or become uneven. If you must replace or reset pavers, remove the damaged or uneven paver, level the sand or dirt beneath and insert a new paver. The ease of repair also keeps maintenance costs of concrete pavers extremely low.
- Immediate use: As soon as you get your concrete pavers installed, you can begin parking in your new driveway or hosting backyard barbecues on your new patio. Unlike poured and stamped concrete that requires a curing period, you never have to wait to start enjoying your new backyard hardscape features built with concrete pavers.