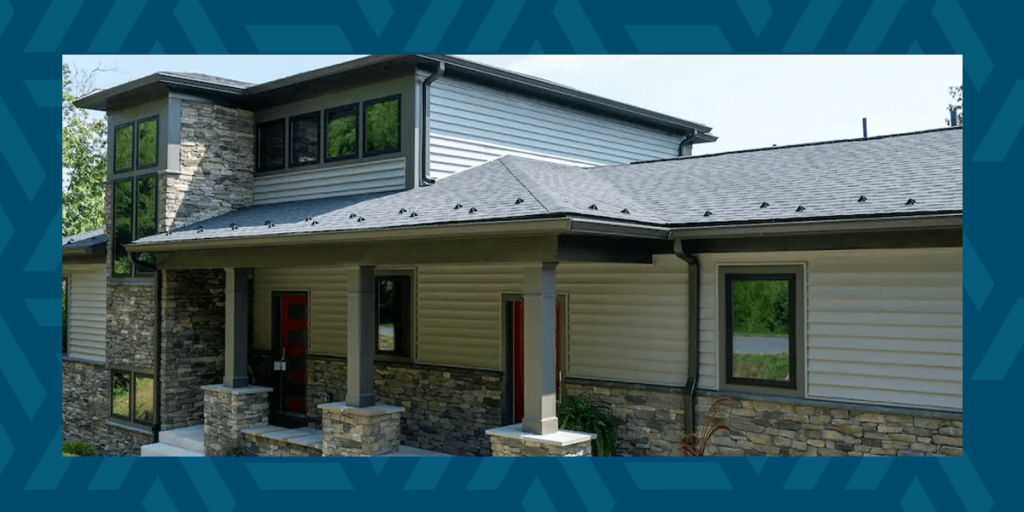
Architects, landscapers, builders and homeowners often choose veneer stone due to its authentic appearance, lighter weight and design versatility. This material is ideal for facades, accent walls, fireplaces, columns and outdoor features. However, achieving long-lasting performance and a visually appealing stone veneer finish relies on proper installation from start to finish.
This guide to installing veneer stone explains the practices, standards and materials every professional or homeowner should know to complete long-lasting, visually appealing projects.
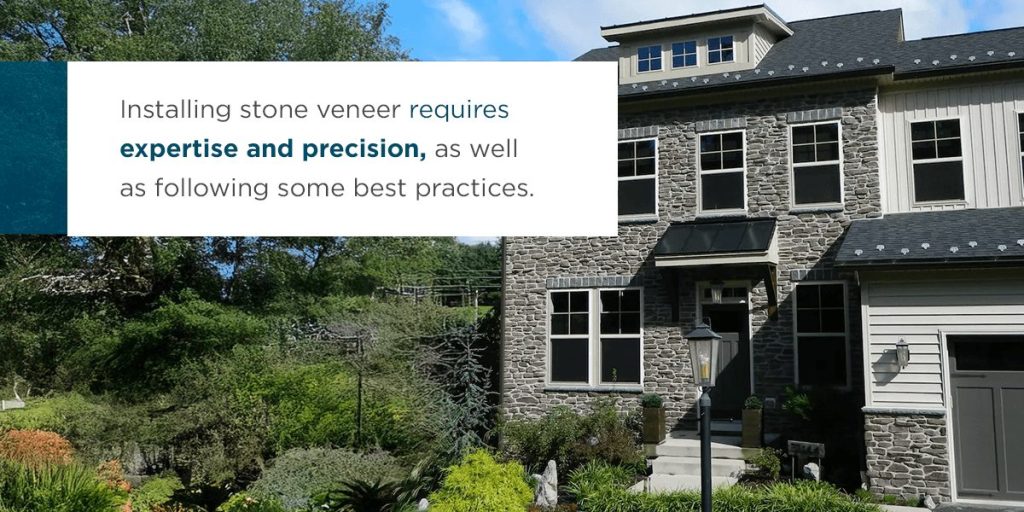
The Importance of Workmanship When Installing Veneer Stone
Installing stone veneer requires expertise and precision, as well as following some best practices. Poor workmanship can lead to premature deterioration, water intrusion and visual flaws. Understanding proper installation techniques and material characteristics will help you create a lasting, attractive finish.
Building Code Requirements
Maintaining compliance with building code requirements for veneer stone is essential. Builders must be familiar with all relevant codes to ensure the safety, structural integrity and durability of veneer installations.
Local codes vary by jurisdiction and application. They typically specify minimum structural requirements, clearances, drainage details, mortar types and installation methods. Make sure the stone veneer system meets or exceeds these regulations. You will also want to comply and reference specific guidelines outlined by organizations such as the Concrete Masonry & Hardscapes Association (CMHA), International Building Code (IBC) and the American Society for Testing and Materials (ASTM), specifically ASTM C1780.
Additionally, be sure to read the manufacturer’s installation instructions. If you find discrepancies between those instructions and general best practices, contact the manufacturer for clarification.
Quality Practices
Installers should clearly understand materials, their correct usage and proper application techniques. Quality craftsmanship involves paying close attention to mortar application, appropriate mortar joint sizing, accurate stone cuts and thorough sealing where necessary. Here are some tips to achieve excellent results:
- Regularly inspect the substrate and materials for compliance and integrity.
- Employ skilled, trained professionals familiar with veneer stone standards.
- Prioritize precision over speed to ensure durability and finish quality.
- Regularly inspect work before, during and after installation to identify and correct issues early.
- Document and follow the manufacturer’s guidelines and national standards throughout installation.
Material Requirements for Veneer Installation
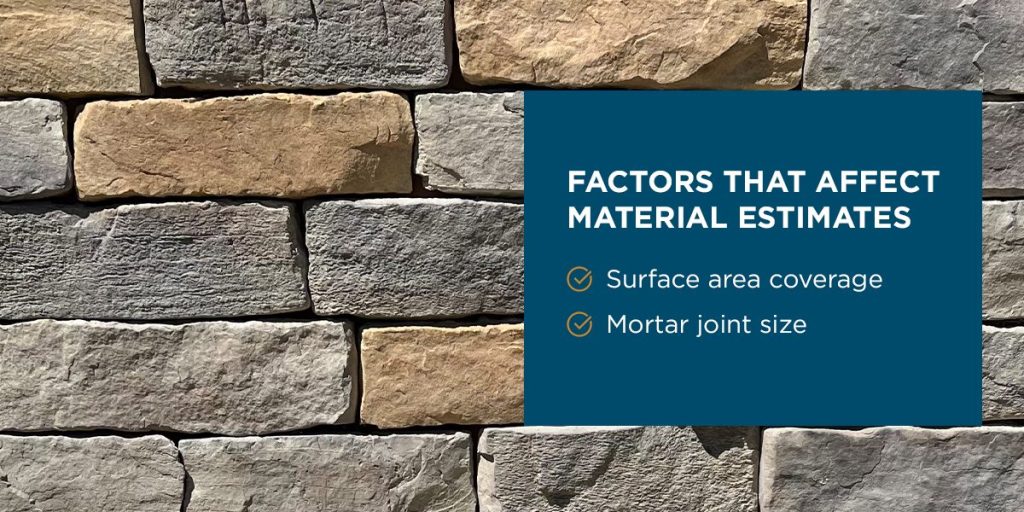
Proper planning and material selection will help you achieve a successful veneer stone installation project. Start by calculating your stone and mortar needs. The main factors that affect material estimates are the surface area coverage and mortar joint size.
- Stone quantity calculation: Calculate the total square footage of the area you are working on by multiplying the surface length by height, and then subtracting any openings (doors or windows). Next, divide the surface’s area by the area of an average veneer stone to estimate the number of stones you need.
- Waste allowance: Always order an additional 5% to 10% of stone to account for cuts, breakage and waste.
- Mortar joint size: Typical veneer installations use mortar joints ranging from 3/8-inch to 1/2-inch thick. Determine the joint size that is most suitable for your design and account for the needed mortar.
Mortar Selection
Mortar binds the stone veneer to the substrate and fills joints for strength and weather protection. There are three categories of mortar used in veneer stone installation:
- Scratch coat mortar: This base layer is applied to the lath or substrate and intentionally roughened for optimal adhesion. When mixed on-site, it must meet the standards for ASTM C270 Type N or Type S. Preblended mixes must meet ASTM C1714/C1714M Type N or Type S standards.
- Setting bed mortar: This mortar adheres the veneer stones to the scratch coat. It can be applied directly to the scratch coat or the back of the stones.
- Pointing mortar: Also known as grout, this mortar fills the joints between individual stones.
For a successful, long-lasting finish, keep these tips in mind:
- Use only mortars approved by the stone manufacturer.
- For exterior or challenging conditions, consider modified mortars for increased bond strength.
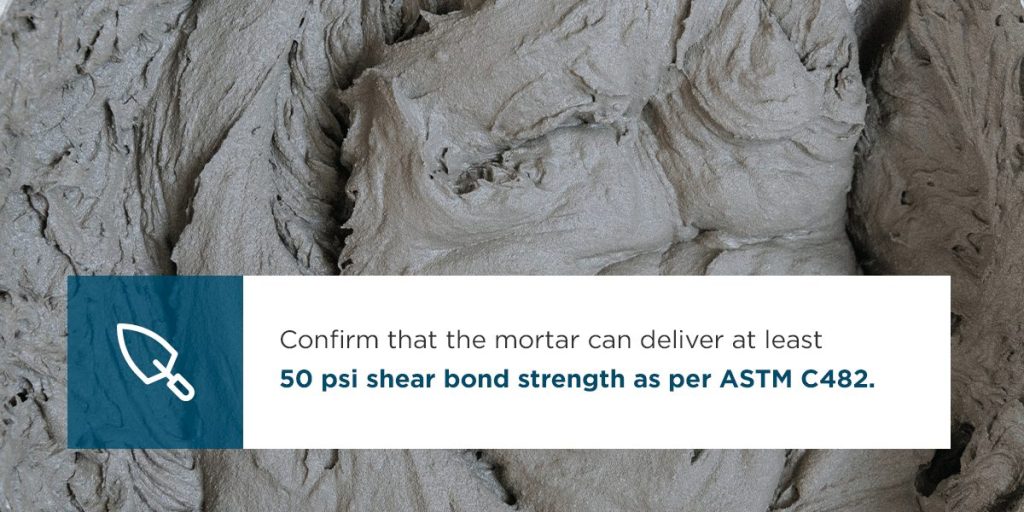
- Confirm that the mortar can deliver at least 50 psi shear bond strength as per ASTM C482.
- Mix mortar to the consistency of thick peanut butter.
Flashing
Flashing helps manage moisture and protect building integrity. It directs water away from vulnerable areas such as foundation transitions, wall terminations and horizontal interruptions such as windows, doors and rooflines. All flashing materials must be corrosion-resistant, like galvanized steel or vinyl, and integrated correctly with water-resistant barriers (WRBs). Flashing is mandatory for exterior projects. For interior applications, install it only in areas exposed to water.
Rainscreen Drainage Plane Systems
A rainscreen system creates an air gap between the veneer and the substrate, allowing moisture to drain and promoting airflow for faster drying. While not always required, rain screens are increasingly considered best practice, especially in regions with high rainfall or humidity. Rainscreens may consist of drainage mats or vertical furring strips.
These components minimize hydrostatic pressure on the wall, promote moisture evaporation, improve freeze-thaw durability and extend the lifespan of the WRB and structural substrate. Rainscreen products must be compatible with the selected lath and WRB and should not compress under the veneer’s weight.
Weep Screed and Casing Beads
Weep screeds are plastic or metal accessories installed at the base of exterior walls to allow moisture to exit the assembly. They must be corrosion-resistant and installed level and continuous at the base of framed walls. They can extend below the sill plate as long as the sill plate is properly flashed, typically terminating at least 4 inches above grade or 2 inches above paved surfaces.
Casing beads cleanly terminate stone veneer at openings or material transitions. They also help establish proper expansion joints and preserve system movement. Builders must install both components before the WRB and lath. The components must also extend under the WRB and allow unobstructed drainage.
Surface Preparation for Veneer Stone
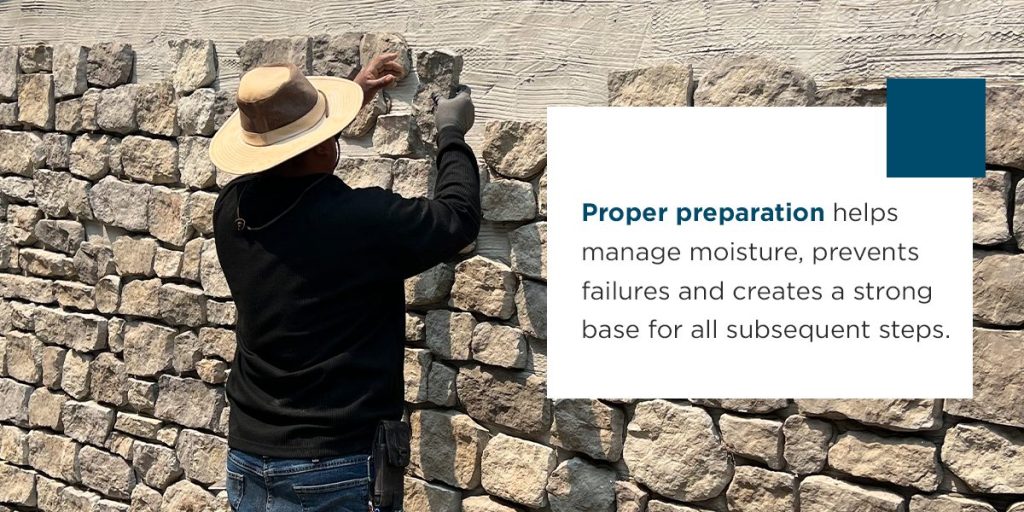
Thorough surface preparation affects the durability, bond strength and appearance of the finished wall. Before starting, confirm that the substrate is structurally sound and free from defects, coatings, oils, dust or any substance that might interfere with adhesion. Proper preparation helps manage moisture, prevents failures and creates a strong base for all subsequent steps.
Below are the most critical surface preparation steps for ensuring long-term performance.
Wall Systems With Exterior Continuous Insulation
Continuous exterior insulation improves energy performance but requires special preparation to ensure code compliance and bond strength during veneer stone installation.
- Substrate evaluation: Installation teams must place continuous exterior insulation over a structural sheathing layer, like plywood or OSB, that supports the stone’s weight. Ensure the insulation material is rated for use with adhered manufactured stone veneer systems and installed per the manufacturer and IBC Chapter 26 code requirements.
- Fastening: Use corrosion-resistant, code-approved fasteners to anchor lath and other accessories through the insulation and into the backup wall. The fasteners’ type, length and spacing will depend on the insulation thickness, cladding weight and backup structure.
- Drainage: Integrate WRBs and, when required, a rain-screen system to maintain a continuous drainage plane behind the veneer.
- Joint treatment: Address all seams and penetrations in the insulation layer to prevent air or water leaks.
Make sure the entire wall assembly can support the veneer’s load and complies with system engineering specifications, especially for adhered systems over foam.
Water-Resistive Barrier
A WRB is critical for protecting the underlying structure from incidental moisture. It is a standard requirement in most exterior veneer stone installation projects. Here are some factors to consider during WRB installation:
- Number of layers: Most installations require two layers of WRB installed in a shingle fashion from bottom to top. Depending on local codes, one layer may suffice on masonry or concrete substrates or when a rainscreen system is present.
- Installation: Overlap horizontal joints by at least 2 inches, and vertical joints by at least 6 inches. Wrap inside and outside corners by at least 16 inches for robust coverage.
- Integration: Installation teams must lap the WRB over the top of weep screeds and flashing to guide water safely out of the wall assembly. They must also fully integrate all transitions, corners, penetrations and claddings with the WRB.
- Interior use: For interior walls not exposed to water, a single WRB layer is generally sufficient.
- Sealing: All seams, fasteners and penetrations must be taped or sealed per manufacturer guidance.
Lath
Where required, lath forms the base for the mortar scratch coat and the structural link between the substrate and the stone veneer. Here are essential guidelines for proper lath installation:
- Type: Use self-furring, corrosion-resistant metal lath, welded wire or approved synthetic options with a minimum weight of 2.5 pounds per square yard, as outlined in ASTM C847, C933 or C1032, or per manufacturer instructions.
- Attachment: Fasten lath horizontally with a minimum 1-inch overlap at vertical seams and a 1/2-inch at horizontal seams. Extend lath at least 12 inches around all inside and outside corners for added strength and crack resistance.
- Fastening: Secure lath every 7 inches vertically along studs. Use corrosion-resistant fasteners long enough to penetrate at least 3/4 inches into wood framing or 3/8 inches through metal studs. For masonry or concrete, use approved masonry anchors.
Lath is not always necessary over concrete or masonry walls, but you may need a bonding agent to ensure proper mortar adhesion.
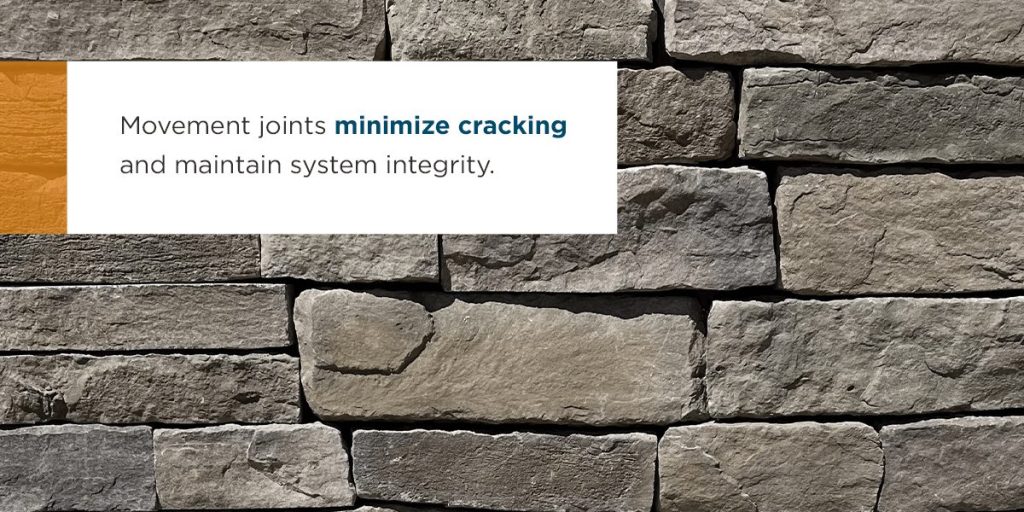
Movement Joints
Movement joints accommodate shifts due to thermal expansion or contraction and structural settling. Locate joints strategically around windows, doorways, at intersections of different materials and wherever you may anticipate structural stress. Movement joints minimize cracking and maintain system integrity.
Stone Cuts
Achieving a precise fit and attractive finish requires thoughtful cutting and planning. Use a masonry saw with a diamond blade to make clean, accurate cuts. Rough up exposed cut edges as needed to restore a natural appearance. Be sure to clean all cut stones for stronger mortar adhesion.
Clearances
Maintaining appropriate clearances prevents water damage and material deterioration. It is also important for maintaining compliance with building codes. Exterior veneers must maintain a minimum 4-inch clearance from soil grade and a 2-inch clearance from paved surfaces.
Follow recommended clearances at windows, doors and cladding changes to prevent water intrusion and damage.
Interior Applications
Interior installations follow many of the same steps as exterior assemblies, with some important distinctions:
- Moisture protection: A single layer of WRB behind the lath and scratch coat is sufficient for interior applications in dry locations.
- Flashing and drainage: Flashings, weep screeds and casing beads are unnecessary unless the interior application is exposed to water.
- Movement joints: Allow for differential movement between materials even in interior applications.
These adaptations create a durable and attractive finish for installing veneer stone inside homes, offices or public spaces.
How Do You Install Stone Veneer?
Adhered manufactured stone veneer offers flexibility and visual appeal for various architectural and landscape projects. Here is a walk-through on how to install veneer stone.
General Steps to Installing Veneer Stone
Below are the main steps for veneer stone installation on a properly prepared substrate:
- Inspect and confirm preparation: Ensure the wall assembly — lath, scratch coat, flashing and water resistive barriers — is complete, clean and free from bond-inhibiting substances. Surfaces should be slightly damp but without standing water.
- Lay out and blend stone units: Select pieces of varied size, shape and color to avoid creating repetitive patterns.
- Mix setting bed mortar: Prepare the approved setting bed mortar (Type N or S, or as specified by the manufacturer), following all mixing and additive guidelines. Use only enough water to achieve a workable, creamy consistency.
- Apply mortar: There are two methods for adhering stone veneer — back-buttering and troweling onto the scratch coat. For the back buttering technique, apply a 1/2-inch layer of mortar to the back of each stone, covering the entire surface. Troweling onto the scratch coat involves spreading a 1/2-inch layer of mortar over the scratch coat. You may also use both methods in combination for maximum bond strength.
- Install veneer stones: Begin installation at the wall corners and along the base. Press each stone firmly into the mortar, sliding slightly back and forth or rotating gently to achieve a solid bond. Continue working upward and inward, maintaining consistent joint widths.
- Check alignment and joint spacing: Use a level and straightedge to keep courses accurate. Maintain mortar joints typically at 1/2-inch unless a tight-fit style is specified. Stagger joints for a natural appearance and added strength.
- Clean : Wait until mortar has dried then flick off using a dry brush, followed by a damp sponge to remove mortar smear. To prevent staining, do not use water or wet brushes on uncured mortar joints.
- Allow proper curing: Protect the newly installed stone from rain, freezing temperatures or direct sunlight during the initial curing period — usually 24-48 hours.
Grout Adhered Manufactured Stone Veneer Installation
The grout-adhered technique is one of the most common ways to install stone veneer.
- Start from the top (optional): Begin installation at the uppermost course to minimize mortar drips on any finished stone below, especially for tall walls.
- Dampen surfaces: Lightly mist the back of the stone and the scratch coat. Make sure not to leave any standing water.
- Back-butter and press into place: Apply a 1/2-inch layer of setting mortar to the back of each stone and set into the scratch coat. Slide or rotate each stone slightly to set firmly and expel air pockets.
- Ensure full mortar coverage: Mortar should squeeze out slightly around all edges to achieve a solid, void-free bed, which prevents water infiltration behind the stone.
- Fill joints with pointing mortar: After stone units are set and partially cured, use a grout bag to fill the joints. Once the mortar is “thumbprint hard,” tool the joints to the desired finish.
- Final cleaning: Use a dry, soft brush to clean the surface. Remove all loose mortar and dust for a crisp, clean finish.
Tight-Fitted Adhered Manufactured Stone Veneer Installation
Tight-fitted installations create a dry-stacked aesthetic without visible mortar joints. Follow these guidelines for best results:
- Layout stones: Choose pieces that will provide a tight, interlocking fit. You might trim the stones to create a tight edge-to-edge contact and uniform vertical coursing.
- Dampening surfaces: Lightly dampen the stone backs and the scratch coat.
- Apply mortar: Fully butter the back of each stone with mortar, approximately 1/2-inches thick.
- Ensure no visible joints: Place stones as closely as possible with minimal gaps. Clean any squeeze-out immediately.
- Progress from the edges: Work from the corners inward and the bottom upward to maintain tight alignment and interlocking edges.
- Avoid repositioning veneer stones: Once the mortar begins to set, avoid repositioning the stones, as this breaks the developing bond. If a stone moves, remove it, clean away the mortar, and reapply fresh mortar before resetting.
The tight-fitted method is ideal for modern or rustic designs where you want to achieve clean lines and minimal jointing.
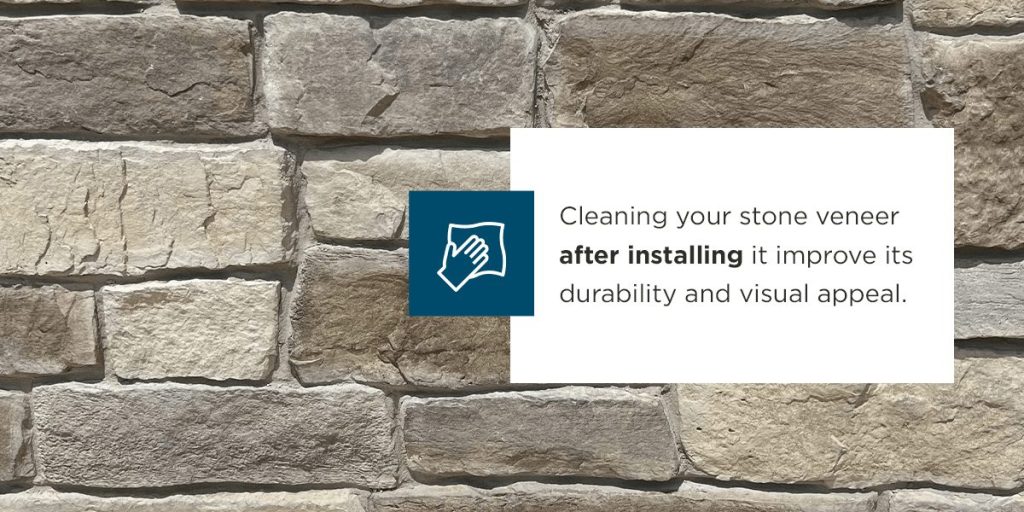
Cleaning the Veneer and Applying Coatings
Cleaning your stone veneer after installing it improves its durability and visual appeal. A protective coating is also important.
- Immediate cleaning: Remove excess mortar and debris from stone faces as you work once mortar dries. Use a dry, soft-bristled brush only. Never use water or acid-based cleaners on fresh mortar.
- Coating and sealing: Apply only manufacturer-approved repellents or sealers if additional water resistance or stain protection is required. Note that some sealers may alter the color or sheen of the veneer — always test on a small area first.
Cold and Hot Weather Mortar Application Considerations
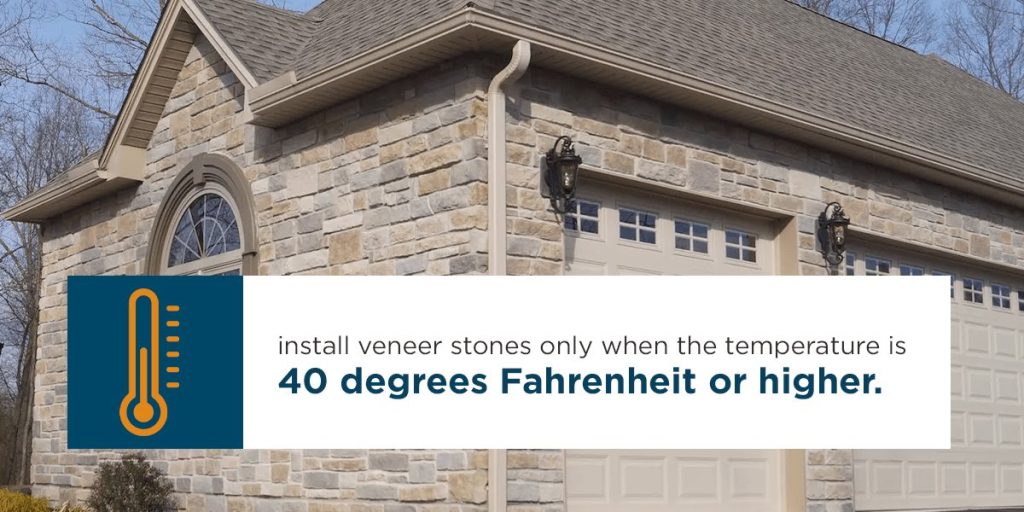
Temperature significantly influences mortar performance and curing. Avoid installing veneer when the temperature is below 40 degrees Fahrenheit, and do not use stones with visible frozen moisture.
Try to install veneer stones only when the temperature is 40 degrees Fahrenheit or higher. Do not use stones with visible frozen moisture. In cold weather, you may need to use warm water in the mortar mix and protect the wall with temporary enclosures or heated blankets. Avoid antifreeze and admixtures containing calcium chloride. Finally, adhere to TMS 602 guidelines for cold-weather masonry.
In temperatures exceeding 90 degrees Fahrenheit, install stone veneers in shade or during cooler parts of the day. Frequently mist the scratch coat and stone backs to compensate for rapid evaporation. In hot seasons, mortar may require additional water or specialized hot-weather mixes. Protect the surface from direct sun during curing to prevent cracking or bond loss.
Precautions and Additional Installation Tips
Implementing these precautions and installation tips will help you achieve great results and minimize callbacks or repairs on your stone veneer install:
- Avoid direct and frequent water contact: Position veneer stones away from continuous water exposure. Direct sprinklers, downspouts and drainage outlets away from stone surfaces. Prolonged water exposure can lead to discoloration, mortar deterioration and structural compromise.
- Maintain proper clearances: Always keep the minimum specified distance above grade, paved surfaces and openings. Correct clearances provide drainage and prevent water wicking into the assembly.
- Limit exposure to harsh chemicals: Avoid exposure to substances like pool chemicals, de-icing salts, cleaning chemicals and other corrosive agents. They can cause fading, discoloration or surface damage.
- Water management in retaining walls: When applying veneer to retaining walls, always use proper waterproofing measures on the soil side. Managing moisture behind retaining walls protects the integrity of the veneer and underlying structures.
- Select premixed mortars for consistency: Premixed mortar provides consistency in color, texture and performance. It reduces the likelihood of mistakes during mixing and streamlines workflow, resulting in a uniform application.
- Use stone accessories: Add stone veneer accessories such as outlet boxes, sills, keystones and caps for a seamless, finished look.
Choose Superior Veneer Stone From Nitterhouse Masonry Products
When installed correctly, veneer stone is highly durable, but skipping steps or rushing details can undermine the entire wall system. Selecting the right product and installation partner makes all the difference in appearance and longevity.
At Nitterhouse Masonry Products, we offer an extensive selection of beautiful, high-performance veneer stone. We manufacture our products to high standards by a team that understands quality craftsmanship.
With nearly a century of expertise and an unmatched commitment to quality, we provide a comprehensive selection of veneer colors, styles and accessories for any residential or commercial application. Browse our veneer stone collection today.